⭐ Introduction
AI chatbots are everywhere — in websites, customer support, personal assistants, and automation tools.
The good news?
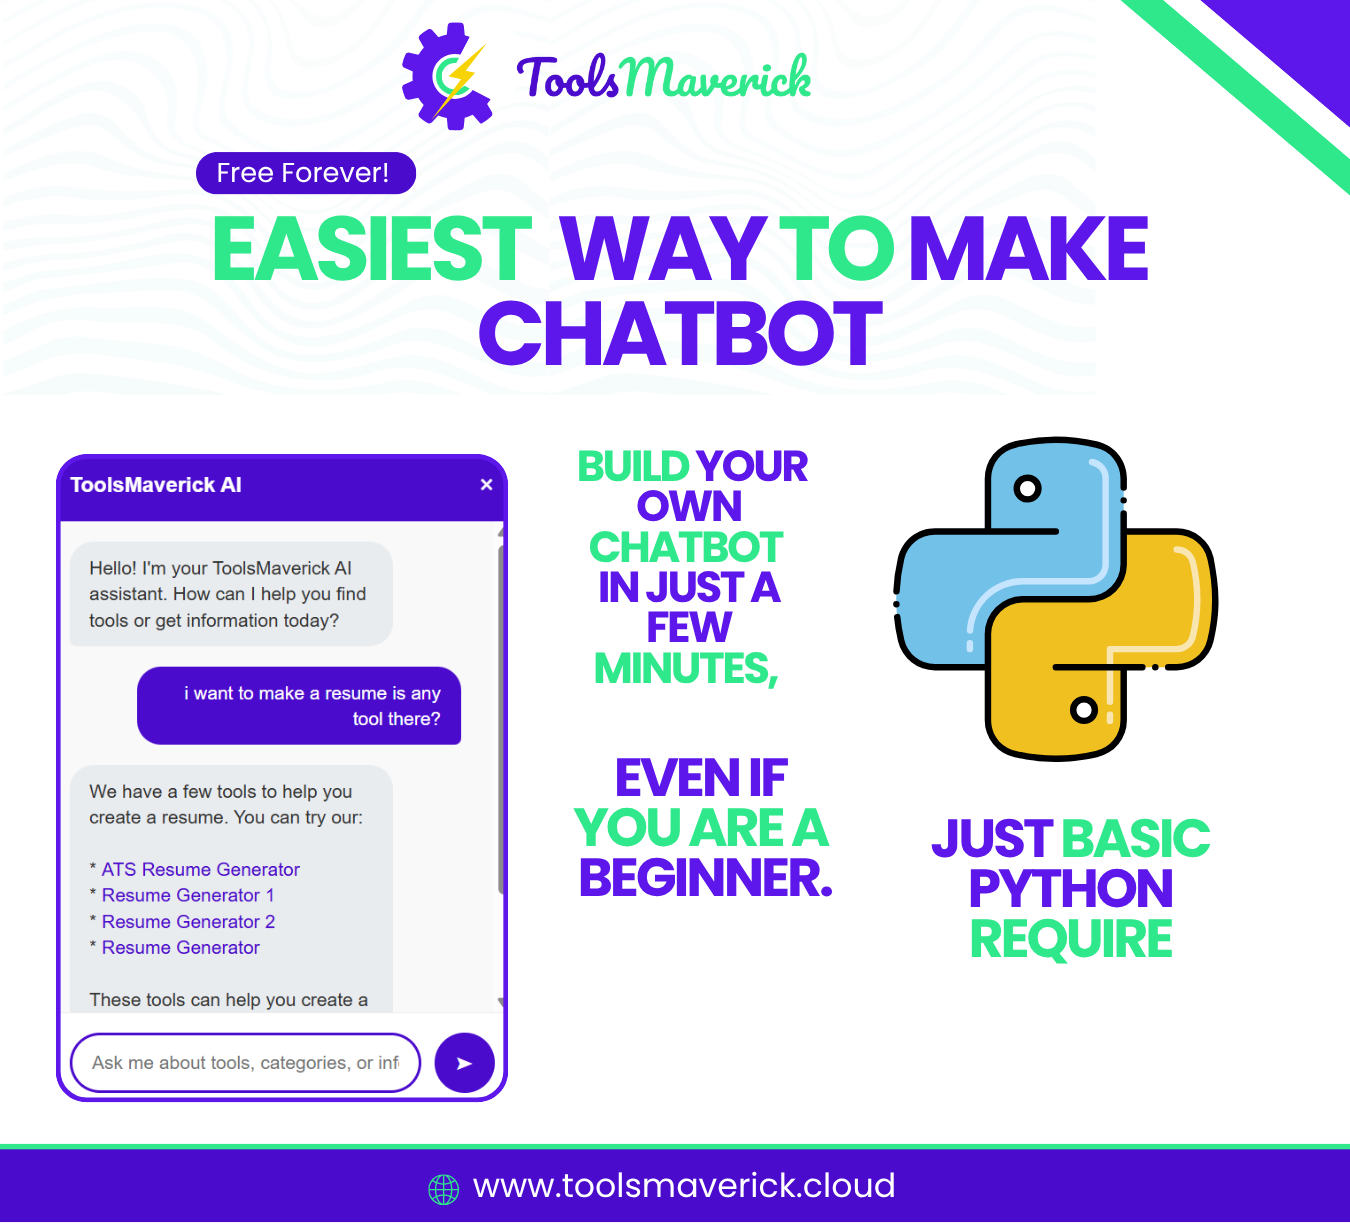
You can build your own chatbot in just a few minutes, even if you are a beginner.
This guide will show you step-by-step how to create a very simple AI chatbot using:
✔ Python
✔ Groq API (free & super fast)
✔ LangChain
You don’t need advanced coding skills.
Just basic Python is enough.
Prerequisites
Before building your chatbot, make sure you have:
✔ Python installed
✔ Basic understanding of running .py files
✔ Groq API key (free)
✔ Any code editor (VS Code recommended)
That’s all you need.
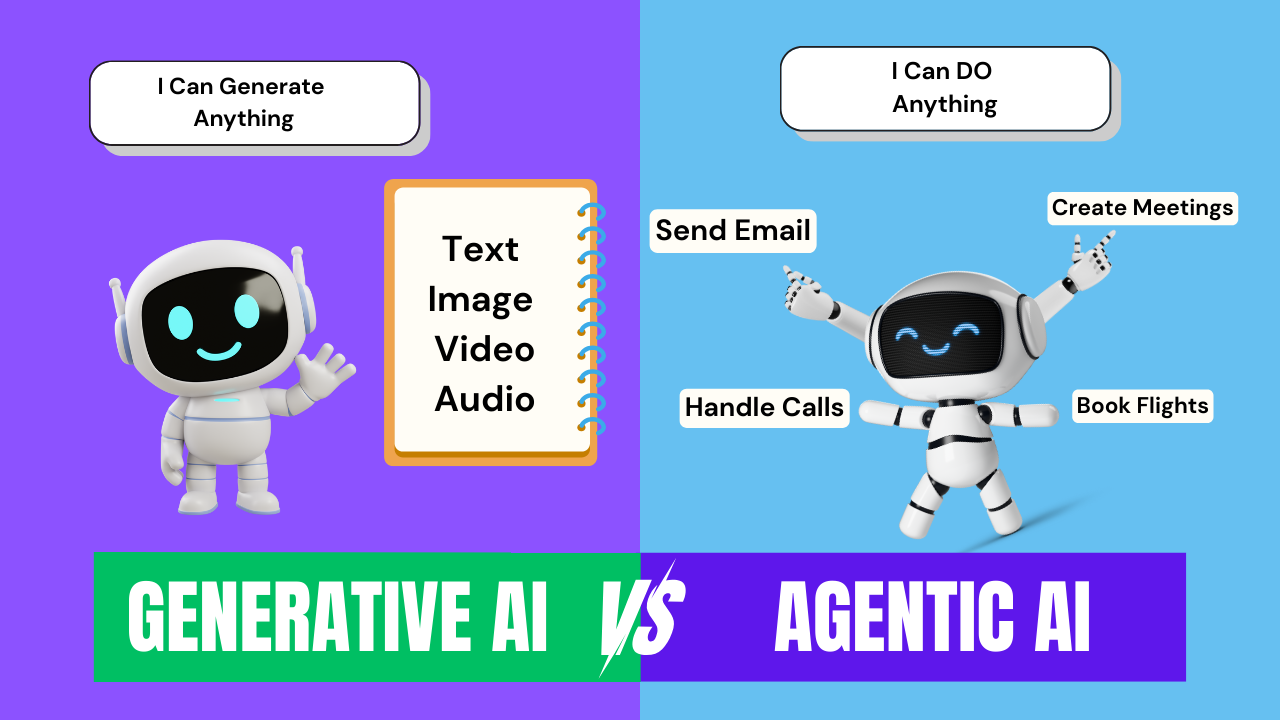
🤖 What Is AI?
AI (Artificial Intelligence) means teaching computers to think or respond like humans.
For example:
-
You ask a question → AI understands
-
It finds patterns from data
-
It replies back intelligently
Chatbots are one of the most common and easiest forms of AI.
Lets get started
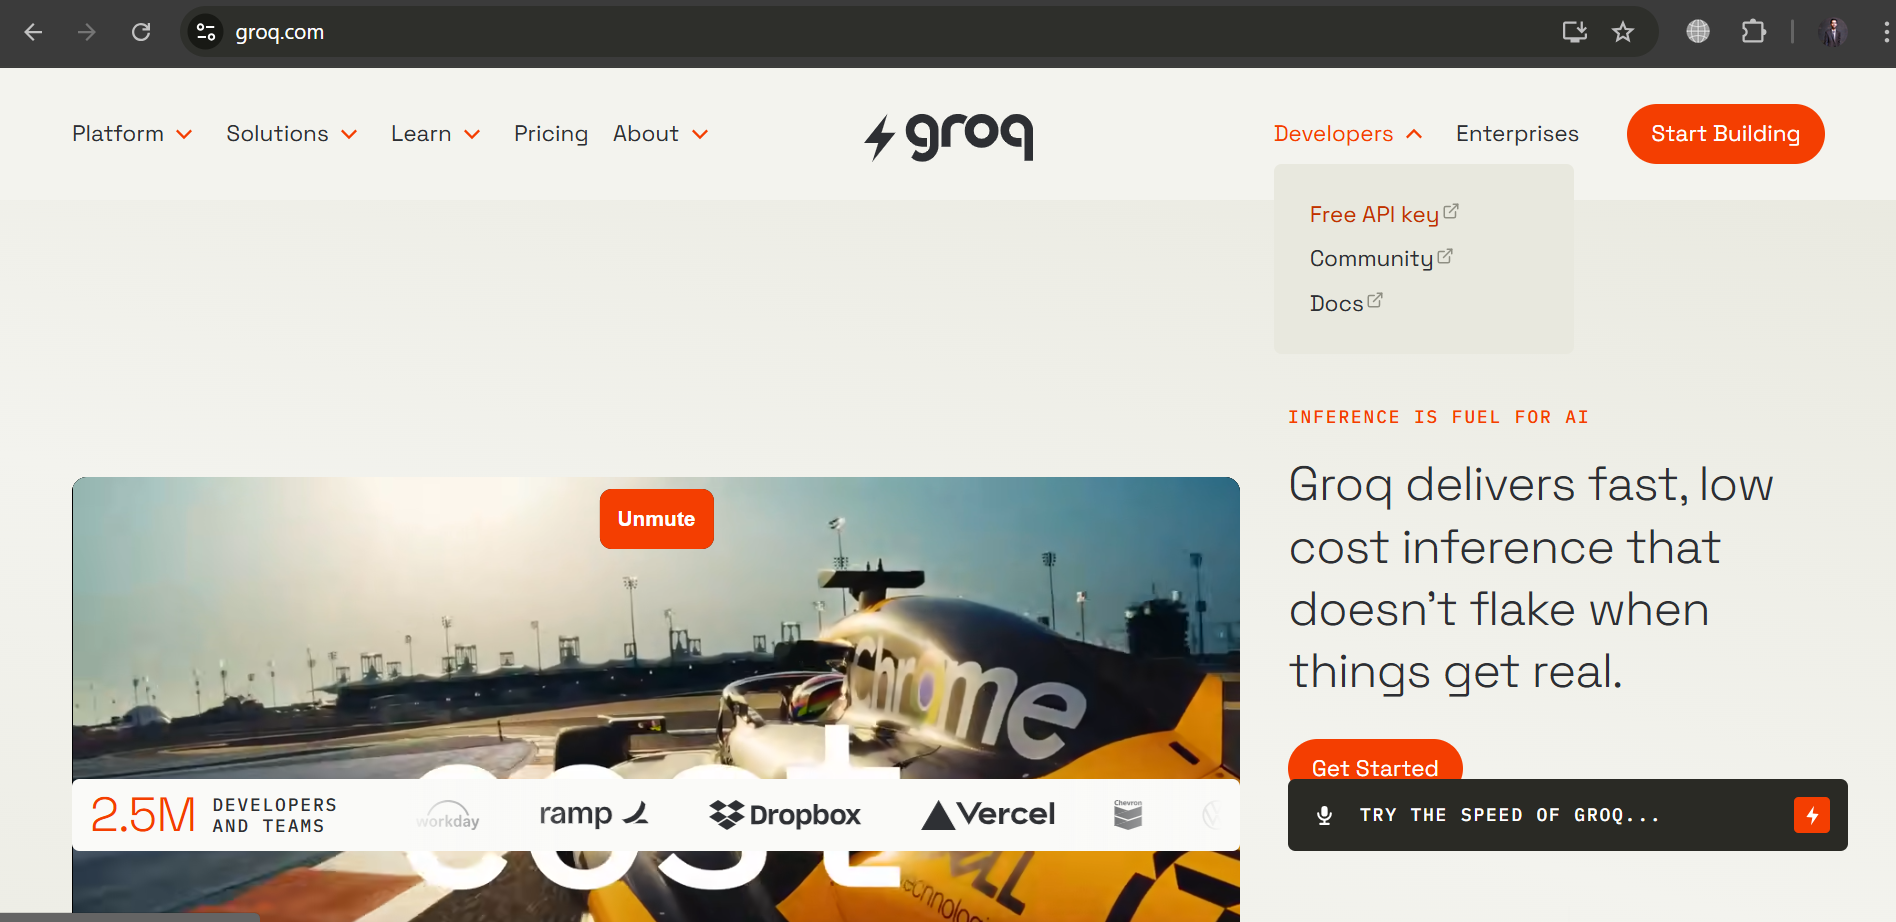
Step 1: Get Your Groq API Key
Groq provides free, extremely fast AI models.
Steps:
-
Go to groq.com

-
Create account (Signup with Google)
You will see this Home Page
-
Click Developers
-
Click Free API Key
Now you will See a Button Create API Key
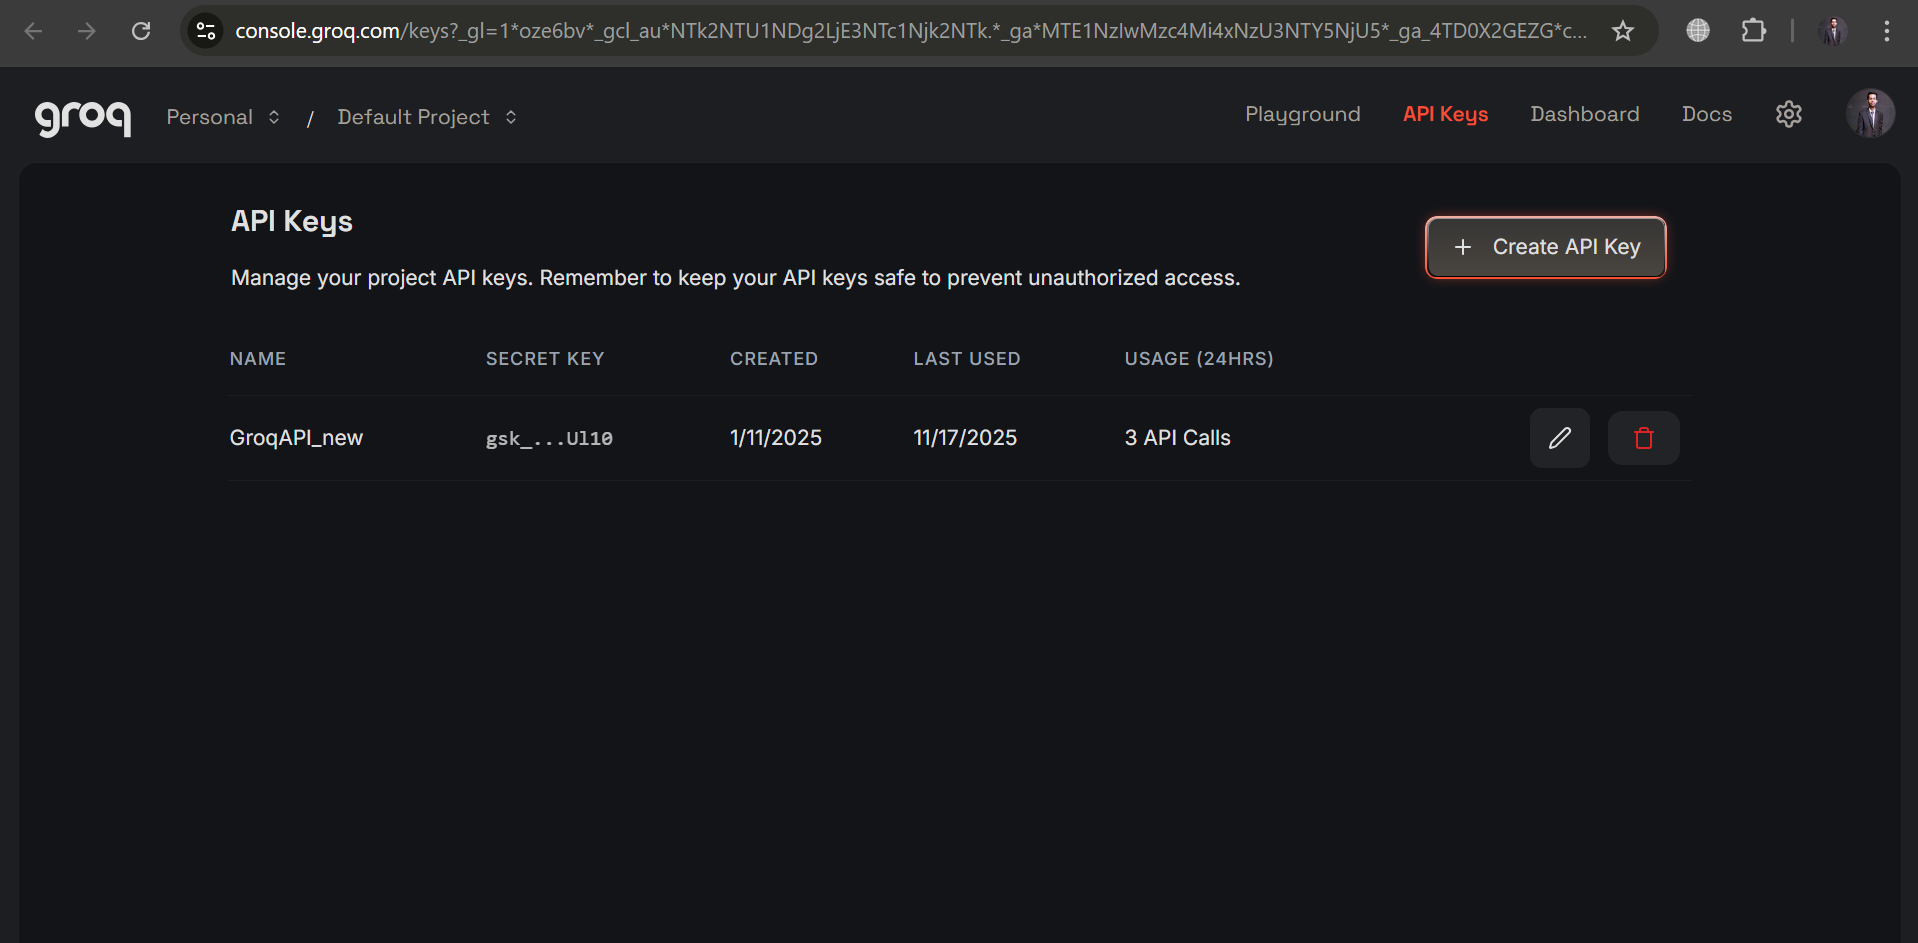
-
Click “Create Key”
-
Copy the key
You will paste it inside your Python file.
Now Open VS Code or Any Other IDE you have
Step 2: Install Required Packages
pip install langchain-groq langchain
🔍 What this does:
-
langchain-groq→ allows LangChain to communicate with Groq -
langchain→ framework to handle chat messages and models
No extra configuration needed.
Stage 1 — Build the Most Simple Chatbot
Now we build a very basic chatbot.
Step 3: Import Required Libraries
from langchain_groq import ChatGroq
🔍 Explanation:
-
ChatGroq→ connects Python to Groq’s AI models
Step 4: Add Your API Key
groq_api_key = "YOUR_API_KEY_HERE"
🔍 Why we do this:
The API key tells Groq who you are.
Without it, you cannot access the model.
You can store it in .env later, but for beginners, this is fine.
Step 5: Create the LLM Client
llm = ChatGroq(
    model="llama-3.1-8b-instant",
    api_key=groq_api_key
)
🔍 Explanation:
-
llama-3.1-8b-instant→ a fast and powerful model -
It gives very good results for simple chatbots
-
This line creates the actual AI “brain” of your chatbot
-
You can now call
.invoke()to generate answers
Step 6: Send a User Question
user_input = "What is AI?"
🔍 Explanation:
-
user_inputstores the user question
Step 7: Get Response From the Model
response = llm.invoke(user_input)
print("Bot:", response.content)
🔍 Explanation:
-
.invoke(user_input)sends your messages to the Groq model -
Groq generates the response
-
response.contentcontains the text reply -
print()shows it on the screen -
you will see output ("Hi How can i Assist You")
🎉 Your simple chatbot is ready!
You can ask anything and get instant answers.
That Was Super Easy Right ?
Now we Create A New Chat bot With System Prompt So it can Answer According to Your Need
Lets Go!
Stage 2 — Build a Personalized Chatbot - With System Prompt
System prompts tell the AI “how to behave”.
A system message can:
✔ make the bot friendly
✔ give it a personality
✔ turn it into your personal brand assistant
✔ restrict answers
✔ improve quality
We now add a custom system message representing Awais Shakeel ToolsMaverick.cloud
Step 1: Import SystemMessage
from langchain.schema import SystemMessage, HumanMessage
🔍 Why?
-
SystemMessagedefines bot behavior -
HumanMessagedefines user messages
Both are required for personalized chatbots.
Step 2: Define the System Prompt
system_msg = SystemMessage(
    content=(
        """You are ToolsMaverick AI, an assistant representing **Awais Shakeel**,
        an AI and Software Engineer and founder of ToolsMaverick.cloud.
        Answer all queries using his background, experience, and work.
        Always be helpful, polite, and provide clear information with proper links.
        Provide not so   long answer,  keep in short and clear."""
    )
)
🔍 Explanation:
-
This defines the identity and tone of your chatbot
-
The bot now behaves like a branded assistant
-
It answers using your experience
Step 3: Add a User Question
user_input = "Who is Awais?"
Your Question That will Bot Response
Step 4: Combine System + User Messages
messages = [
    system_msg,
    HumanMessage(content=user_input)
]
🔍 Explanation:
The order is important:
System message (bot’s identity)
User message (question)
The AI reads them in sequence to generate a better reply.
Step 5: Get Response
response = llm.invoke(messages)

print("Bot:", response.content)
🔍 Explanation:
Same as before, but now the model uses the system message too.
The result will be a personalized answer, representing ToolsMaverick.cloud
🎉 Now you have a fully branded personal chatbot.
Where You Can Use This Chatbot
⭐ Websites
-
Customer support
-
FAQ bot
-
Personal assistant bot
⭐ Portfolio
-
Make visitors chat with “AI Awais Shakeel”
⭐ Mobile Apps
-
Productivity bot
-
AI learning bot
If you Want to Learn More About AI We Have A detail RoadMap To Become AI Developer
We Hope This Was Help Full
About ToolsMaverick.cloud
ToolsMaverick was created with a clear vision: to make essential online tools free, fast, and remarkably easy to use. In a world full of clutter and subscriptions, we believe that basic utilities should be accessible to all.
Toolsmaverick.cloud Offers 70+ Free Online Tools - AI, SEO, Developer, Generation , Convertion and Caluclation Tools.
Our goal is to empower students, professionals, and anyone who needs to perform a quick calculation or conversion without the hassle. No login. No ads. No cost. Just smart tools that work.
Visit: www.toolsmaverick.cloud